
Making mango sticky rice cooker style is the easiest way to enjoy this beloved Thai dessert without steaming or special tools. If you’ve ever felt intimidated by traditional sticky rice methods, you’re not alone — but this rice cooker method changes everything. It delivers perfect sticky rice infused with sweet coconut milk every time, all with the push of a button. In this article, I’ll walk you through exactly how to prepare mango sticky rice in a rice cooker, what type of rice gives the best texture, and how to top it just like they do in Thailand. Let’s make dessert the simple way — and the delicious way.
Table of Contents
Mango Sticky Rice Cooker Method: Where It All Began in My Kitchen
Discovering a Simpler Way to Make Mango Sticky Rice cooker
The moment I found a better way to make mango sticky rice — using a rice cooker — it changed dessert nights forever. As someone who learned to cook in a tiny, spice-filled kitchen with no formal training, I always believed great food should feel free, fun, and full of love.I still remember the first time I tasted mango sticky rice at a Thai restaurant. The warm coconut-scented rice with fresh mango was like a hug on a plate. But every time I tried to recreate it at home, I ended up with clumpy rice or watery coconut sauce.
Then came the breakthrough: the mango sticky rice cooker method. One button. That’s it. No steamer baskets, no soaking overnight, no watching the stove. Just perfect sticky rice, every single time. I tested it for weeks — adjusting the coconut milk, the sweetness, the timing — until it finally matched the flavor I remembered.
A Family Tradition Built Around Mango and Coconut
Now, it’s a tradition in our house. When mangoes are in season, we celebrate. My kids help peel and slice the fruit, and the smell of coconut rice fills the kitchen. The whole process takes under 30 minutes, but the joy it brings lasts all evening.
Cooking shouldn’t be hard or stressful — and the mango sticky rice cooker approach proves that even a dessert with deep cultural roots can be made accessible. It’s not about cutting corners — it’s about cooking smarter so we can enjoy the food and each other even more.
In the next section, I’ll guide you through choosing the right rice and coconut milk so your sticky rice comes out tender, rich, and never mushy. With just a few pantry ingredients, you’ll turn your rice cooker into a dessert hero.
Choosing Ingredients for the Perfect Mango Sticky Rice Cooker Recipe
Picking the Right Rice for Sticky Success
If you want your mango sticky rice cooker dish to taste just like the real deal, start with the right rice. Not all rice types work for this recipe. What you need is glutinous rice, often labeled as “sweet rice.” This variety becomes soft and slightly chewy once cooked — exactly what makes Thai sticky rice so satisfying.
Skip jasmine or sushi rice here — they cook up differently and won’t deliver that signature sticky texture. You can usually find glutinous rice at Asian grocery stores or in the global foods section of many supermarkets.
Before cooking, rinse the rice well to wash away excess starch. I rinse it about three to four times until the water runs clear. This step helps the rice stay tender and sticky without turning mushy. And the best part? Unlike traditional recipes that require soaking overnight, this rice cooker method doesn’t need any of that. Just rinse and cook — it’s that simple.
Selecting Quality Coconut Milk and Mangoes
For a truly luscious mango sticky rice cooker experience, full-fat coconut milk is key. Avoid light versions — they’re too watery and won’t give you that rich, creamy coating. Look for canned coconut milk with minimal ingredients — just coconut extract and water if possible. Brands like Chaokoh or Aroy-D are great choices for flavor and consistency.
As for mangoes, choose ripe ones that are naturally sweet and slightly soft. Mango varieties like Ataulfo (honey mangoes) or Nam Dok Mai are perfect choices—they’re silky, naturally sweet, and have very few stringy fibers. Slice them right before serving so they stay fresh and juicy alongside your warm coconut rice.
Coming up next: I’ll guide you step-by-step on how to cook and flavor your sticky rice using only a rice cooker — no soaking, no steamers, no fuss.
Print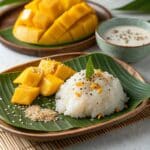
Mango Sticky Rice Cooker Recipe: The Easiest Way to Make This Thai Classic at Home
- Total Time: 30 mins
- Yield: 4 servings 1x
- Diet: Vegetarian
Description
This easy mango sticky rice cooker recipe brings Thailand’s favorite dessert to your kitchen using simple steps and no steaming.
Ingredients
1 cup glutinous rice
1 cup water
1 cup full-fat coconut milk
1/3 cup sugar
Pinch of salt
2 ripe mangoes, sliced
1 tbsp toasted mung beans or sesame seeds (optional)
Instructions
1. Rinse glutinous rice 3-4 times until water runs clear.
2. Add rice and 1 cup water to rice cooker, press “Cook”.
3. While rice cooks, heat coconut milk, sugar, and salt in saucepan until sugar dissolves.
4. Once rice is cooked, let sit on “Warm” for 10 minutes.
5. Stir 3/4 of coconut milk mixture into rice. Cover and rest for 10–15 minutes.
6. Serve sticky rice with sliced mango and drizzle remaining sauce.
7. Top with toasted mung beans or sesame seeds if desired.
Notes
Best served warm or room temp.
Use Ataulfo or Nam Dok Mai mangoes for best results.
Store rice and mango separately, refrigerate up to 2 days.
- Prep Time: 10 mins
- Cook Time: 20 mins
- Category: Dessert
- Method: Rice Cooker
- Cuisine: Thai
Nutrition
- Serving Size: 1 bowl
- Calories: 310
- Sugar: 22g
- Sodium: 60mg
- Fat: 9g
- Saturated Fat: 7g
- Unsaturated Fat: 2g
- Trans Fat: 0g
- Carbohydrates: 52g
- Fiber: 2g
- Protein: 4g
- Cholesterol: 0mg
Keywords: mango sticky rice cooker, Thai dessert, coconut sticky rice
Step-by-Step Cooking with the Mango Sticky Rice Cooker Method
How to Cook mango Sticky Rice Cooker
Once you’ve rinsed your glutinous rice, it’s time to put the mango sticky rice cooker technique to work. Start by adding 1 cup of rinsed sticky rice and 1 cup of water directly into your rice cooker. Close the lid and press the regular “cook” button — no need to use special functions.
As the rice cooks, it will absorb the water and become soft and sticky. Once the cooker switches to “warm,” let the rice sit with the lid closed for 10 more minutes. This resting time helps finish the cooking gently and gives you the ideal sticky texture.
While the rice is resting, prepare the coconut sauce. In a small saucepan over medium heat, combine 1 cup of full-fat coconut milk, 1/3 cup of sugar, and a generous pinch of salt. Stir gently until the sugar dissolves and the mixture steams — but don’t let it boil. Once warm, pour about 3/4 of the sauce into the rice cooker and stir carefully to coat the rice evenly.


Building Flavor and Texture the Right Way
After mixing in the coconut sauce, cover the rice again and let it sit on “warm” for 10 to 15 minutes. This lets the rice soak up all that rich, sweet flavor.
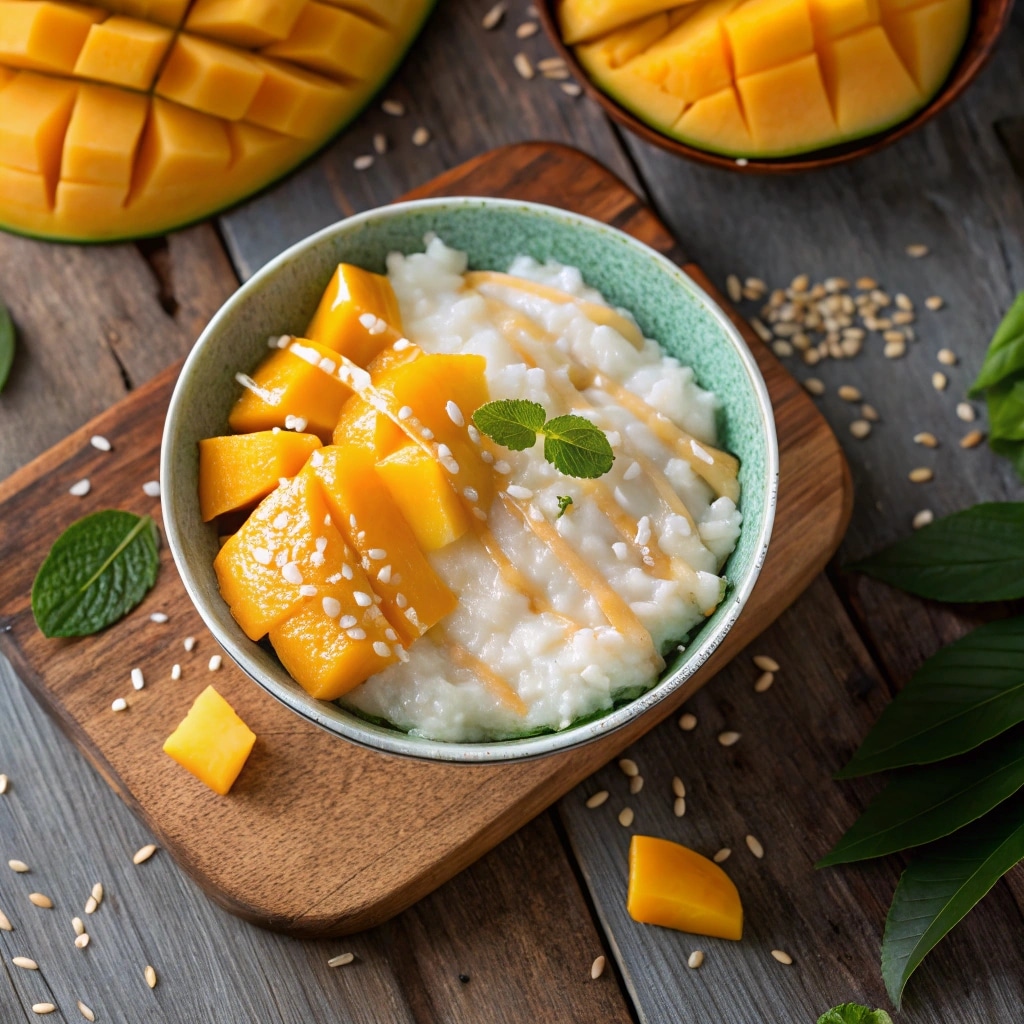
Save the remaining sauce for drizzling just before serving. To serve, scoop the sticky rice onto a plate or shallow bowl, add slices of fresh ripe mango, and spoon the extra coconut sauce over the top.
For a little crunch, sprinkle toasted mung beans or sesame seeds on top — that’s the golden touch often found in Thai street versions. Now you’ve made restaurant-style mango sticky rice using just your rice cooker and a few simple steps.
Serving, Storing & Customizing Your Mango Sticky Rice Cooker Dessert
How to Serve Mango Sticky Rice Like a Pro
Presentation turns your homemade mango sticky rice cooker dish into something truly special. Once your sticky rice has soaked up all that fragrant coconut milk, it’s time to plate it up.
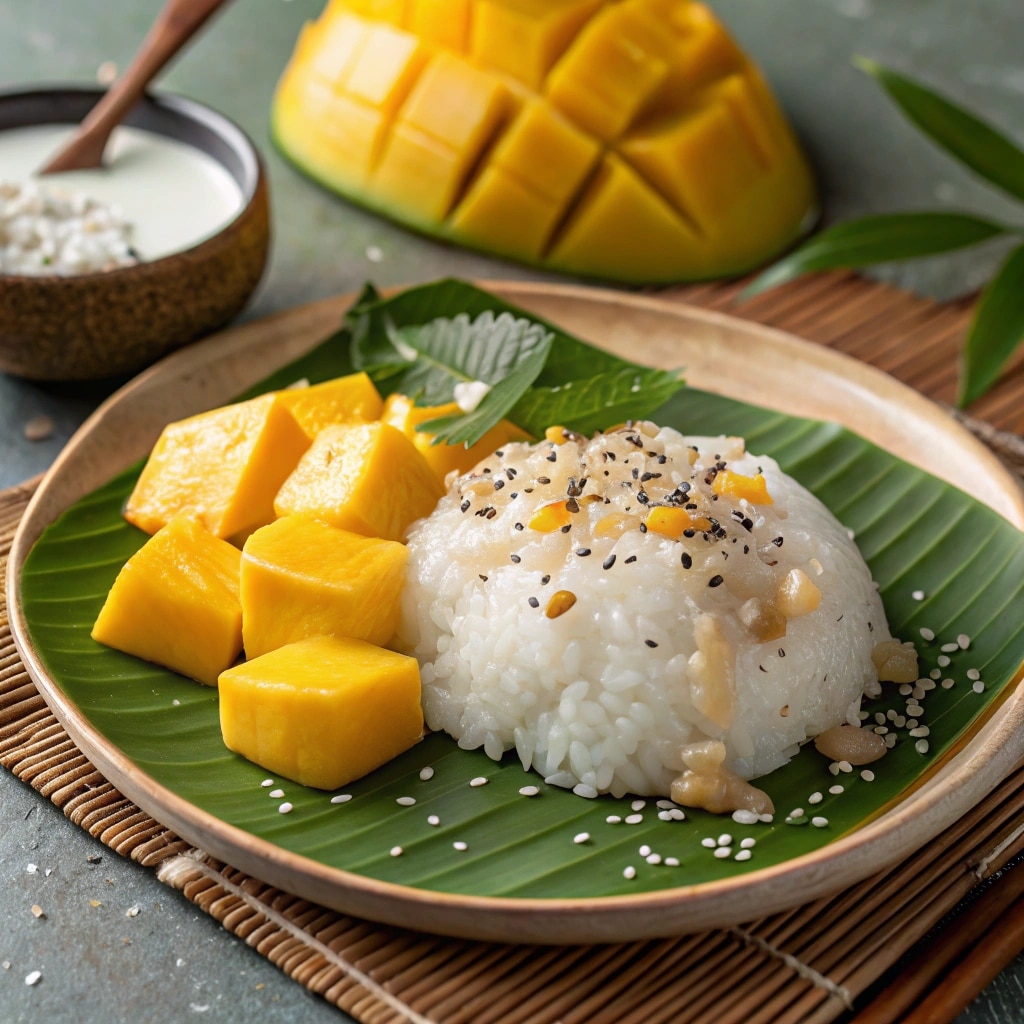
Scoop a generous mound of the warm sticky rice onto each serving dish. Nestle sliced ripe mangoes alongside it — fan them out slightly for a classic Thai-style look. Then, drizzle the reserved coconut sauce over the rice and mango for added creaminess.
If you want that little crunchy topping found in authentic Thai versions, toast a tablespoon of yellow mung beans in a dry pan until golden. No mung beans? Lightly toasted sesame seeds work beautifully too. That bit of texture makes the dish feel complete.
This dessert is best enjoyed warm or at room temperature, which brings out the richness of the coconut milk and the sweetness of the mango.
Storing Leftovers and Creative Twists
Got leftovers? Store your sticky rice and mango separately in airtight containers in the fridge for up to 2 days. When reheating, splash a tablespoon of coconut milk over the rice and gently warm it in the microwave or on the stovetop to revive the texture.
Want to switch things up? Try infusing your coconut sauce with a few drops of vanilla or pandan extract. You can also serve the sticky rice in small bowls and top it with tropical fruits like banana, pineapple, or even grilled peaches for a fun and creative twist.
For a lighter version, reduce the sugar slightly or serve smaller portions as a sweet bite after a spicy meal. However you enjoy it, the mango sticky rice cooker method brings this classic treat into your kitchen — and your routine — with total ease.
Conclusion
The beauty of making mango sticky rice in a rice cooker lies in its simplicity. With just a handful of basic ingredients and a reliable rice cooker, you can enjoy this classic Thai dessert at home—no need for steamers, long soaking times, or extra hassle. From choosing the right rice to infusing the perfect coconut sauce, this dish becomes less about complexity and more about joy.
I hope this recipe brings you the same comfort and connection it brings my family. Whether you’re sharing it at a gathering, serving it after a spicy dinner, or enjoying a quiet moment on your own, mango sticky rice has a way of making any occasion feel a little more special.
Now go grab those mangoes, press that “cook” button, and let the sweet aroma of coconut fill your kitchen. You’ve got everything you need — and a new favorite way to use your rice cooker.
For More recipes Follow me in Facebook and Pinterest
Frequently Asked Questions About Mango Sticky Rice Cooker Recipes
Can I use a rice cooker to make mango sticky rice?
Yes, you can! A rice cooker makes preparing mango sticky rice incredibly simple. It removes the need for soaking or steaming by perfectly cooking glutinous rice with minimal effort. Once it’s ready, you just stir in the warm coconut mixture, and you’ve got a restaurant-style dessert with almost no stress. The mango sticky rice cooker method is perfect for home cooks of all skill levels.
Is it possible to cook sticky rice in a rice cooker?
Definitely. Sticky rice — also called sweet or glutinous rice — cooks well in a rice cooker if you use the right amount of water and give it time to rest after the cooking cycle. The result is soft, sticky grains that hold their shape and absorb flavors beautifully. That’s what makes the mango sticky rice cooker process so efficient.
Which type of rice should I use for mango sticky rice?
For this dish, always use glutinous rice, sometimes labeled “sweet rice.” This type of rice becomes sticky and slightly chewy when cooked, which is exactly the texture you want for mango sticky rice. Long-grain or jasmine rice won’t work the same way, so stick to the traditional variety for the best mango sticky rice cooker results.
What’s the crispy topping served on mango sticky rice?
That crunchy layer is often toasted mung beans or sometimes sesame seeds. It’s a classic Thai finishing touch that gives contrast to the soft rice and juicy mango. You can toast them in a dry pan until golden and sprinkle them on just before serving your mango sticky rice cooker creation for a perfect balance of textures.