
There’s something magical about the moment when butter, sugar, and cream come together in a bubbling pot — the smell alone wraps around you like a warm hug. Salted butter caramels are a true kitchen treasure. Rich, chewy, and just a little bit salty, they strike that perfect balance between indulgence and nostalgia.
This recipe brings me straight back to my grandmother’s stovetop, where she stirred caramel with calm precision and intuition. There was no thermometer in sight — just the sound of the sugar boiling, the color deepening, and the wooden spoon never stopping. We’d pour the molten gold into a pan, wait (impatiently) for it to cool, then wrap pieces in wax paper before sneaking one or two for ourselves.
What I love most about these caramels is their texture — soft, yet firm enough to hold their shape, with that buttery melt as you chew. And the salt? It’s not just a garnish. It brings out the richness and rounds out the sweetness, making every bite more complex and satisfying.
Whether you’re wrapping them as holiday gifts, adding them to a cookie box, or simply treating yourself, salted butter caramels never fail to feel like a small luxury made by hand.
The Tradition and Craft of Salted Butter Caramels
How a humble candy became a family heirloom
The very first time I made salted butter caramels on my own, I was nervous — not about the recipe, but about getting it “just right.” This wasn’t just a candy. It was something passed down. A tradition. I remember standing over the stove, wooden spoon in hand, trying to recreate what felt like a ritual: the golden swirl, the bubbling foam, the scent of browned butter rising as sugar dissolved into silk.
As a child, I’d watch my mother make these in the fall, usually around the time the air turned cool. She’d cut the cooled slab into perfect little squares, then wrap each one with wax paper like a gift. And it always felt like a gift — soft, chewy, salty-sweet, and full of care.
We didn’t call them “artisan caramels.” They were just… ours.
Why salted butter caramels still shine today
In a world full of gourmet chocolates and fancy desserts, salted butter caramels hold their own — not because they’re flashy, but because they’re honest. Real ingredients. A little time. A touch of patience.
The salt doesn’t just cut the sweetness — it deepens the flavor and adds a luxurious touch that makes these feel more grown-up, more thoughtful. They’re soft enough to bite, firm enough to wrap, and never sticky like store-bought versions.
You don’t need candy molds or fancy tools. Just a pot, a pan, and maybe a little memory to stir in.
Ingredients & How to Make Salted Butter Caramels
Real ingredients, real flavor
The magic of salted butter caramels comes from how a few pantry staples transform into something so luxurious. No shortcuts. Just slow, golden perfection.
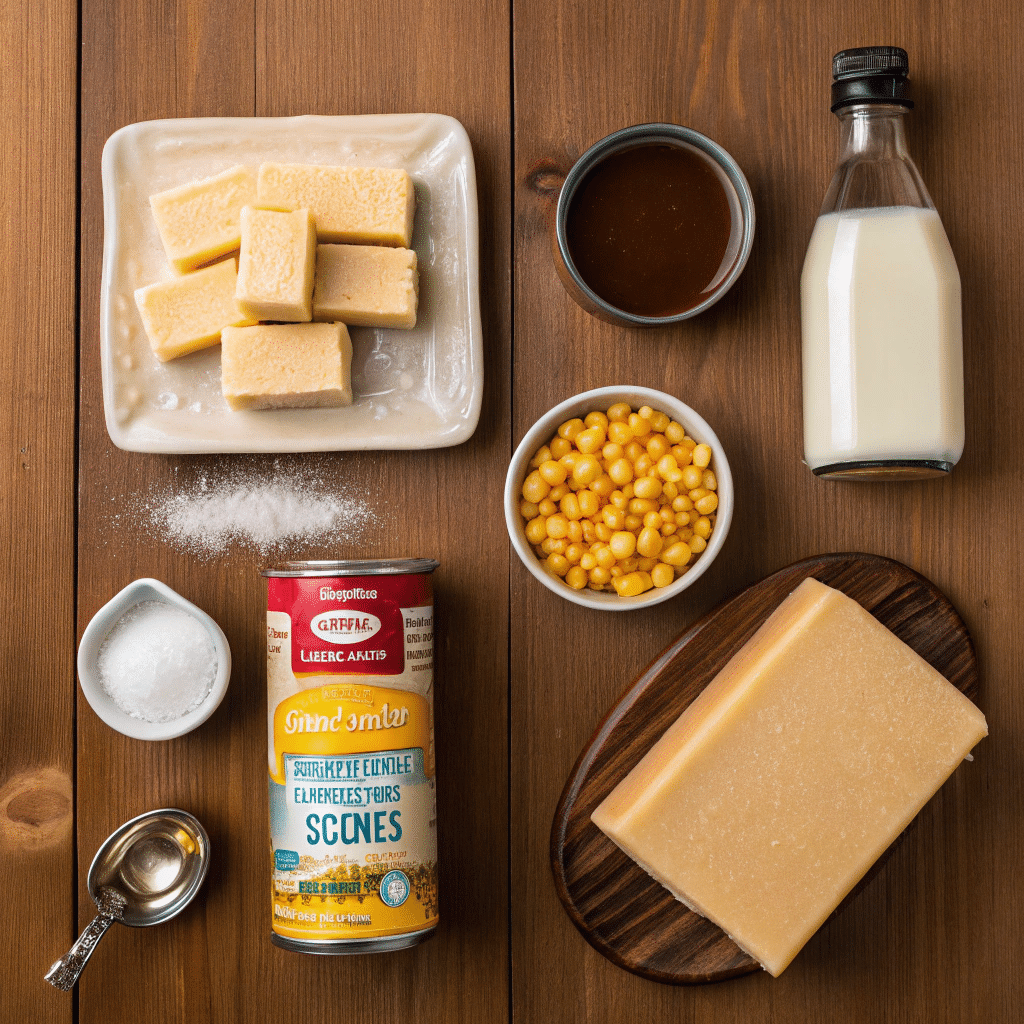
Ingrédients :
- 1 cup (2 sticks) unsalted butter
- 2 1/4 cups brown sugar (light or dark)
- 1 cup light corn syrup
- 1 can (14 oz) sweetened condensed milk
- 1 tsp vanilla extract
- 1/2 tsp sea salt (plus more for topping)
- Optional: flake sea salt (Maldon or similar) for finishing
Tools :
- Heavy-bottomed saucepan
- Candy thermometer (recommended)
- 9×9 or 8×8 inch baking pan
- Parchment paper
- Wax paper for wrapping
This recipe makes around 60 bite-sized caramels — perfect for sharing… or not.
How to make them soft, chewy, and perfect
- Line your pan with parchment and lightly butter it.
- In a heavy saucepan, melt butter over medium heat. Stir in brown sugar, corn syrup, and condensed milk.
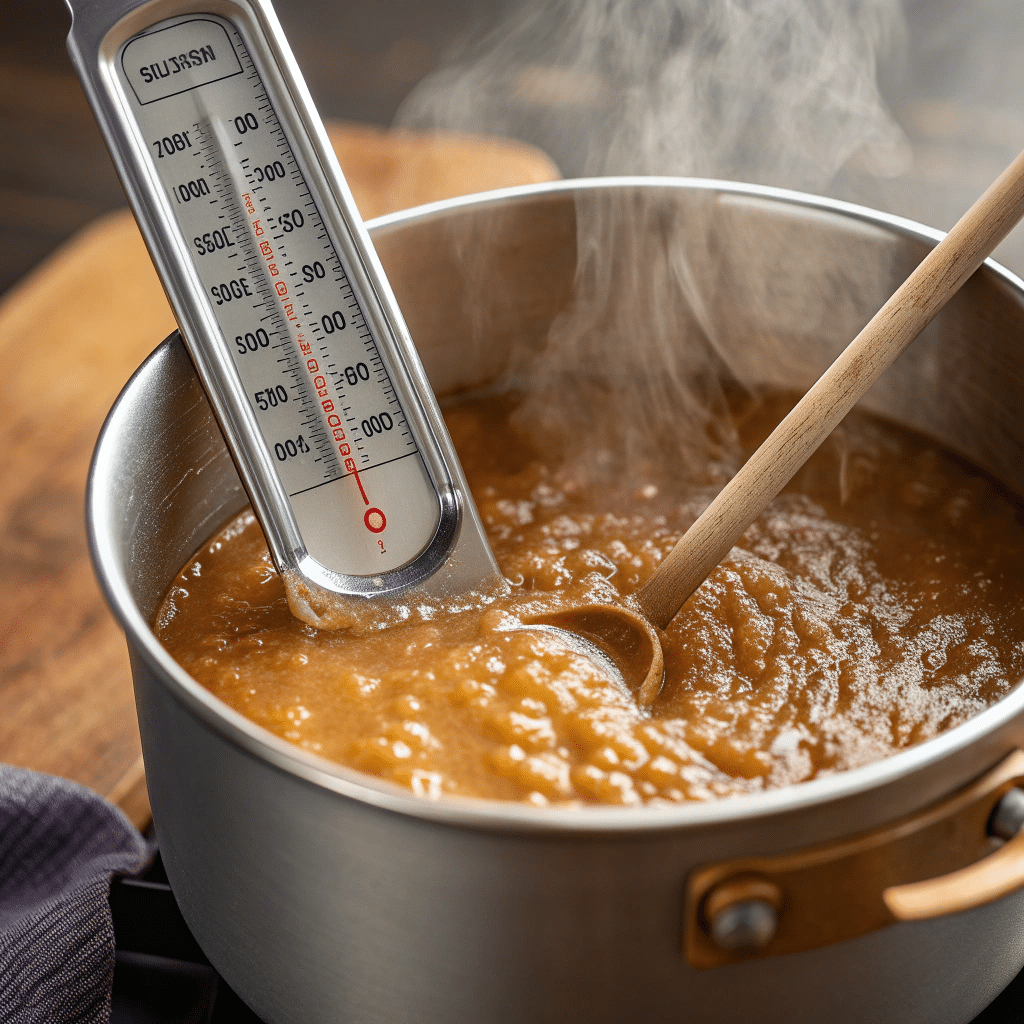
- Stir constantly while bringing mixture to a boil. Attach a candy thermometer.
- Continue cooking, stirring often, until the mixture reaches 245°F (firm-ball stage). This takes 10–15 minutes.
- Remove from heat and stir in vanilla and salt. Pour immediately into the prepared pan.
- Let sit undisturbed at room temperature until completely cool and firm — at least 2 hours.
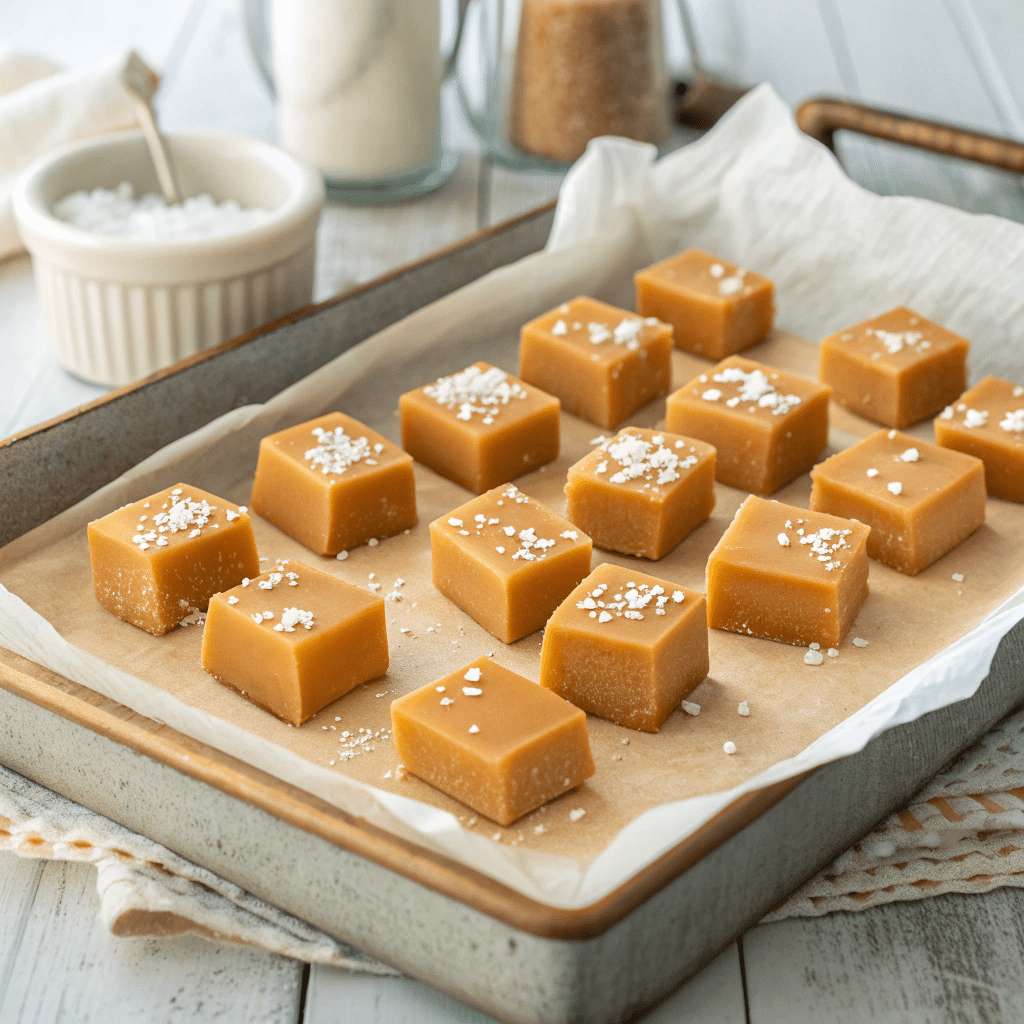
- Sprinkle with flaky sea salt once set (optional, but delicious).
- Cut into squares with a sharp knife. Wrap individually in wax paper.
The result is smooth, rich, and deeply flavored caramels that melt just slowly enough to savor every second.
Salted Butter Caramels – Classic Chewy Candy Made at Home
Description
These salted butter caramels are soft, rich, and made with just a handful of ingredients. Chewy, golden, and topped with flaky sea salt, they’re a homemade favorite.
Ingredients
– 1 cup unsalted butter
– 2 1/4 cups brown sugar
– 1 cup light corn syrup
– 1 can (14 oz) sweetened condensed milk
– 1 tsp vanilla extract
– 1/2 tsp sea salt (plus more for topping)
Instructions
– 1 cup unsalted butter
– 2 1/4 cups brown sugar
– 1 cup light corn syrup
– 1 can (14 oz) sweetened condensed milk
– 1 tsp vanilla extract
– 1/2 tsp sea salt (plus more for topping)
Notes
For bourbon caramels, stir in 1 tbsp bourbon with the vanilla.
Add a touch of cinnamon for warm spice.
Use Maldon salt or fleur de sel for finishing.
Flavor Variations & How to Store Salted Butter Caramels
A base for beautiful variations
Once you’ve mastered this salted butter caramels recipe, you can have fun experimenting. Here are a few variations that stay true to the spirit but bring in new flavor profiles:
- Vanilla Bean Caramels: Split and scrape a vanilla bean into the mixture instead of extract for a deeper, aromatic twist.
- Espresso Salted Caramels: Add 1 tsp instant espresso powder for a grown-up, coffee-kissed edge.
- Bourbon Caramels: Stir in 1 tbsp bourbon with the vanilla — a hint of warmth and depth that pairs beautifully with the caramel base.
- Chocolate-Dipped Caramels: Once cooled and cut, dip half of each piece in melted dark chocolate and let set. Add salt before the chocolate hardens.
- Pumpkin Spice Caramels: Stir in 1/2 tsp cinnamon, 1/4 tsp ginger, and a pinch of cloves with the salt — perfect for fall.
These additions enhance without overpowering. The base recipe is rich enough to hold almost anything.
Storage & shelf life
Homemade caramels store incredibly well — and taste even better after a day or two.
- Room temperature: Store wrapped caramels in an airtight container for up to 2 weeks. They’ll stay soft and chewy.
- Refrigerator: For longer storage (up to 1 month), refrigerate in layers separated by parchment. Bring to room temp before eating.
- Freezer: Freeze wrapped caramels in a freezer-safe bag for up to 3 months. Thaw at room temperature in the wax paper.
Make a double batch — they disappear quickly, especially once people know you’ve made them from scratch.
Part 3: Flavor Variations & How to Store Salted Butter Caramels
A base for beautiful variations
Once you’ve mastered this salted butter caramels recipe, you can have fun experimenting. Here are a few variations that stay true to the spirit but bring in new flavor profiles:
- Vanilla Bean Caramels: Split and scrape a vanilla bean into the mixture instead of extract for a deeper, aromatic twist.
- Espresso Salted Caramels: Add 1 tsp instant espresso powder for a grown-up, coffee-kissed edge.
- Bourbon Caramels: Stir in 1 tbsp bourbon with the vanilla — a hint of warmth and depth that pairs beautifully with the caramel base.
- Chocolate-Dipped Caramels: Once cooled and cut, dip half of each piece in melted dark chocolate and let set. Add salt before the chocolate hardens.
- Pumpkin Spice Caramels: Stir in 1/2 tsp cinnamon, 1/4 tsp ginger, and a pinch of cloves with the salt — perfect for fall.
These additions enhance without overpowering. The base recipe is rich enough to hold almost anything.
Storage & shelf life
Homemade caramels store incredibly well — and taste even better after a day or two.
- Room temperature: Store wrapped caramels in an airtight container for up to 2 weeks. They’ll stay soft and chewy.
- Refrigerator: For longer storage (up to 1 month), refrigerate in layers separated by parchment. Bring to room temp before eating.
- Freezer: Freeze wrapped caramels in a freezer-safe bag for up to 3 months. Thaw at room temperature in the wax paper.
Make a double batch — they disappear quickly, especially once people know you’ve made them from scratch.